
Comprehensive Guide for Homeowners, and DIY Enthusiasts
Introduction
Light sockets are a critical yet often overlooked component in our homes. They are not just points of connection for bulbs but also serve as the gateways to illuminating our living spaces. But what happens when these small yet significant fixtures begin to malfunction? In this comprehensive guide, we will delve into the common issues associated with light sockets, providing valuable insights for homeowners, DIY enthusiasts, and electricians alike.
Understanding Light Sockets
Different Types of Light Sockets and Their Common Uses
Light sockets come in various types, each designed to suit different lighting needs:
- Edison Screw (E26/E27): Commonly used in household lighting fixtures.
- Candelabra (E12): A smaller base commonly used for chandeliers, wall sconces, and other decorative lighting fixtures.
- Bayonet Cap (B22): Popular in the UK and Australia.
- Bi-pin (G4/GU10): Often found in spotlights and recessed lighting.
- Fluorescent Tube Sockets: Specific to fluorescent lighting.
Understanding the type of socket you're dealing with can help in diagnosing issues and implementing solutions.
How Light Sockets Work and Their Key Components
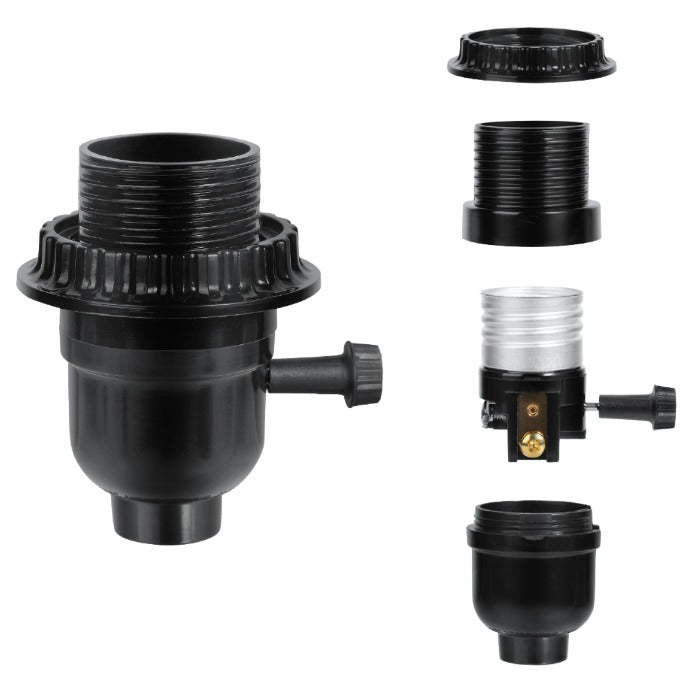
A light socket primarily consists of the following components:
- Base: The part that screws or locks into the fixture.
- Contacts: Metal parts that make electrical contact with the bulb.
- Insulator: Separates the contacts to prevent short circuits.
- Shell: The outer casing that holds everything together.
When a bulb is inserted, the contacts connect to the electrical circuit, allowing current to flow and illuminate the bulb. Any disruption in this process can cause the socket to malfunction.
Common Issues with Light Sockets
Flickering Lights: Causes and DIY Solutions
Flickering lights can be more than just an annoyance; they can indicate underlying problems such as:
- Loose Bulb or Socket: Ensure the bulb is tightly screwed in.
- Faulty Wiring: Check for loose or frayed wires.
- Voltage Fluctuations: Use a multimeter to check voltage levels.
DIY Solution: Tighten the bulb and inspect the wiring. If you're comfortable, use a multimeter to gauge voltage stability. However, if the issue persists, consult an electrician.
Burnt-out Bulbs: Signs of a Deeper Issue
Frequent bulb burnouts can be a sign of:
- Overheating: This is caused by using bulbs with a higher wattage than the socket can handle.
- Poor Connections: Loose contacts can lead to arcing and overheating.
- Old Wiring: Deteriorated wiring may fail to deliver consistent power.
DIY Solution: Ensure you're using the correct wattage bulbs and check for loose connections. If the problem continues, an inspection by a professional might be necessary.
Electrical Safety Concerns: Signs to Look Out For
Safety should always be a priority. Watch for these signs to avoid potential hazards:
- Sparks or Smoke: Immediate action is required.
- Buzzing Sounds: Indicate electrical arcing.
- Discoloration: This may signify overheating or burning.
DIY Solution: Turn off the power immediately and inspect the socket. If you notice any damage, it's best to replace the socket and consult an electrician.
Troubleshooting Light Socket Problems
Step-by-step Guide to Identifying and Fixing Common Issues
- Turn Off Power: Safety first!
- Remove the Bulb: Gently unscrew the bulb.
- Inspect the Socket: Look for visible damage or loose connections.
- Test for Continuity: Use a multimeter to check electrical flow.
- Replace or Repair: Based on your findings, either replace the socket or address the specific issue.
Tools Needed for Basic Troubleshooting
To effectively troubleshoot, you'll need:
- Multimeter
- Screwdrivers
- Wire strippers
- Electrical tape
- Replacement sockets or parts
When to Call a Professional Electrician
Warning Signs That Indicate a Need for Professional HelpSome issues are best left to professionals, especially:
- Persistent electrical problems despite troubleshooting.
- Signs of significant electrical damage (e.g., melted wires, extensive corrosion).
- Complex installations or rewiring needs.
The Importance of Electrical Safety and Risk Assessment
Electrical work carries inherent risks. Professional electricians are trained to handle these safely and efficiently, minimizing the risk of injury or further damage.
Preventing Future Light Socket Problems
Maintenance Tips to Keep Light Sockets in Good Condition
Regular maintenance can extend the life of your light sockets:
- Periodic Inspections: Check for wear and tear.
- Proper Bulb Usage: Always use bulbs within the recommended wattage.
- Clean Contacts: Dust and debris can affect performance.
Upgrading Light Sockets for Increased Safety and Efficiency
Consider upgrading to modern, energy-efficient sockets that offer better safety features, such as:
- Smart Sockets: Allow remote control and monitoring.
- LED-Compatible Dimmer Sockets: Designed to handle the unique needs of LED bulbs.
Conclusion
Properly functioning light sockets are essential for the safety and comfort of your home. By understanding common issues and knowing when to call a professional, you can ensure your lighting system remains reliable and efficient.
If you found this guide helpful, please share it with friends and family who might benefit. And remember, for complex electrical issues, always consult a professional electrician. Your safety is paramount.